
Welcome to Paper Craft Wednesday , its a few days late but crafting had to wait until today.
I am going to attempt to do my first tutorial on making simple 3D butterflies and how I used them on a card I made. Sorry its butterflies again but I enjoy making them.
A lady at a craft club showed me how to make them.
You will need.
Glue dots
Prit stick
Acetate
Outline stickers-butterflies,Happy Birthday and borders
Punched flowers
Cards and backing paper of your choice.
Choose a matching pair of butterflies (outline stickers)

Stick them onto the acetate

Cut them out carefully.
One of the pair fold in half and crease gently.


Choose your card and backing paper , I choose butterflies. I broke up border just to make the background a little funky.I used Prit stick to clue paper to card.
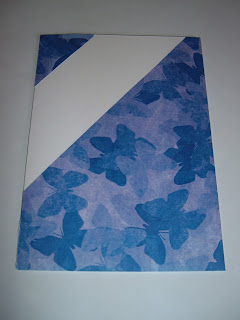
Edge you backing paper with stick on borders of your choice.

Arrange you design. Place Flat butterfly and stick down with glue dots on designated place.Then top with folded butterfly with glue dots along body and you have a flying butterfly.

Arrange flowers and add Happy Birthday.

This is another with inked edges and pink outline butterflies.


4 comments:
Such amazing and beautiful butterflies, Clare! Thank you for the the tutorial!
~Kelli
Thanks, Claire. These are beautiful!
These are gorgeous. I love the butterflies!
Lovely butterflies, thank you for sharing how they are made. These inspire me to look through my stash ~ surely I have some butterflies somewhere!
Post a Comment